PriusLiftSupports.com
  • Home
  • Lift Strut Install
  • 12V Battery Replacement
  • Will it fit in a Prius
  • Contact
  • Blog

Snow tires for Prius

12/30/2016

2 Comments

 
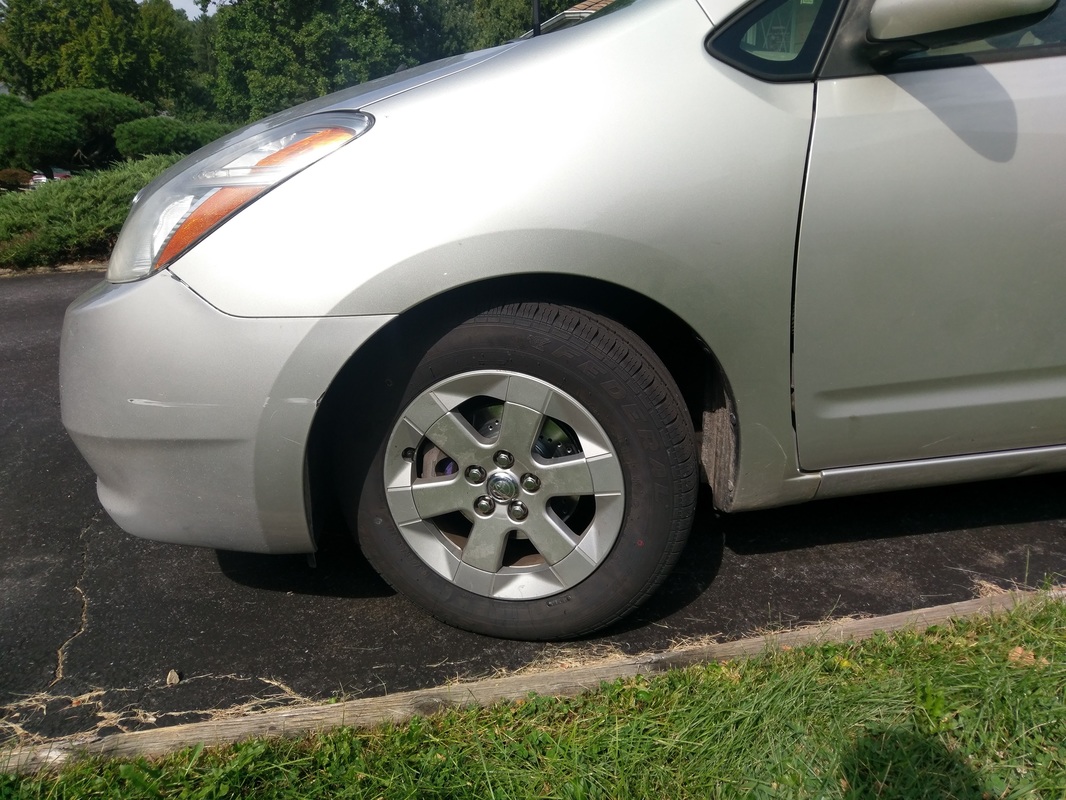
You have a Prius, it has low ground clearance, a lot of torque, and low rolling resistance tires. So if there is more than a dusting of snow the car should really stay parked.. as I can attest personally that it is terrible in more than 1-2".

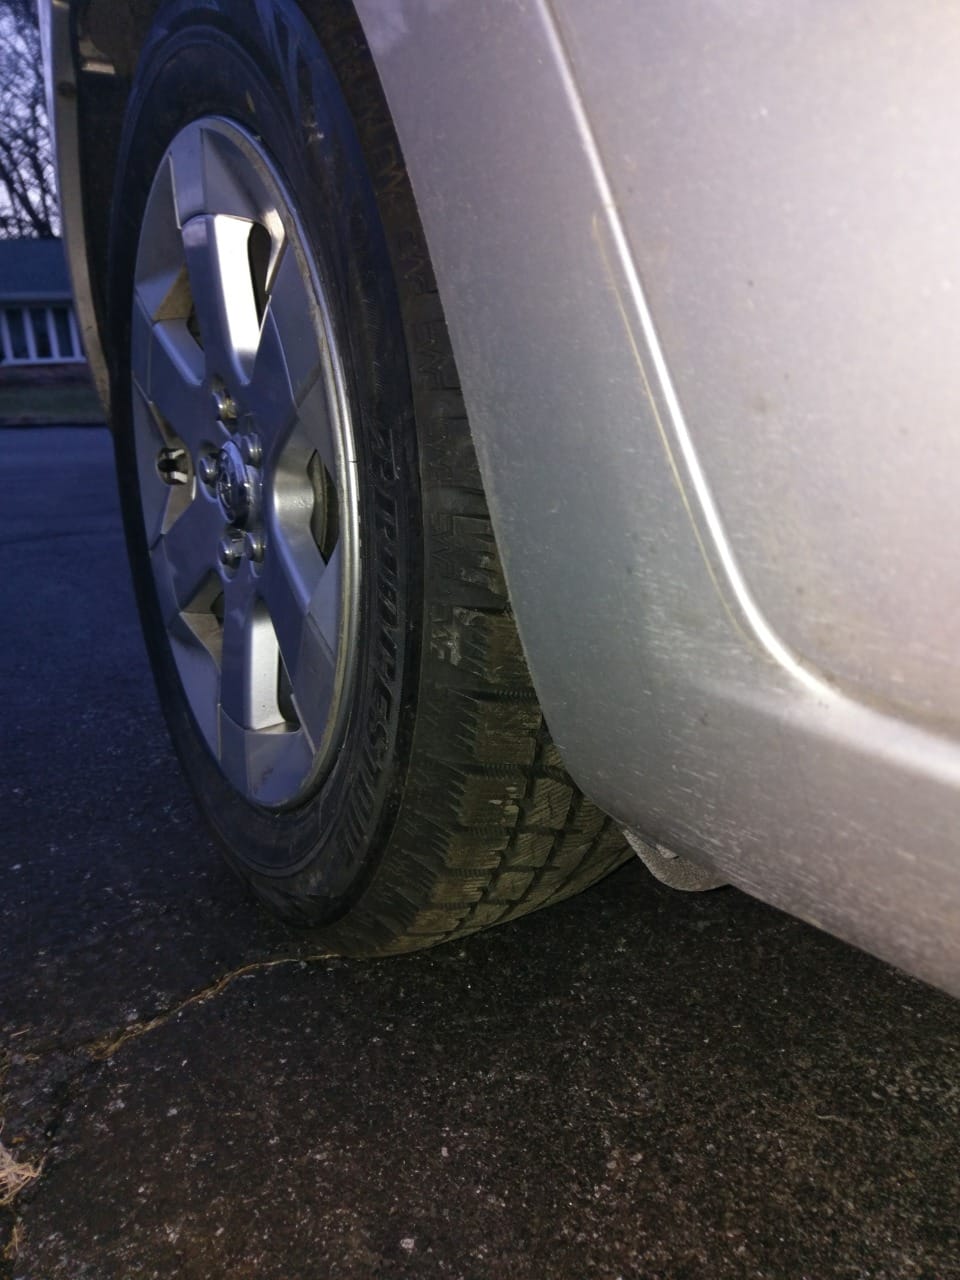
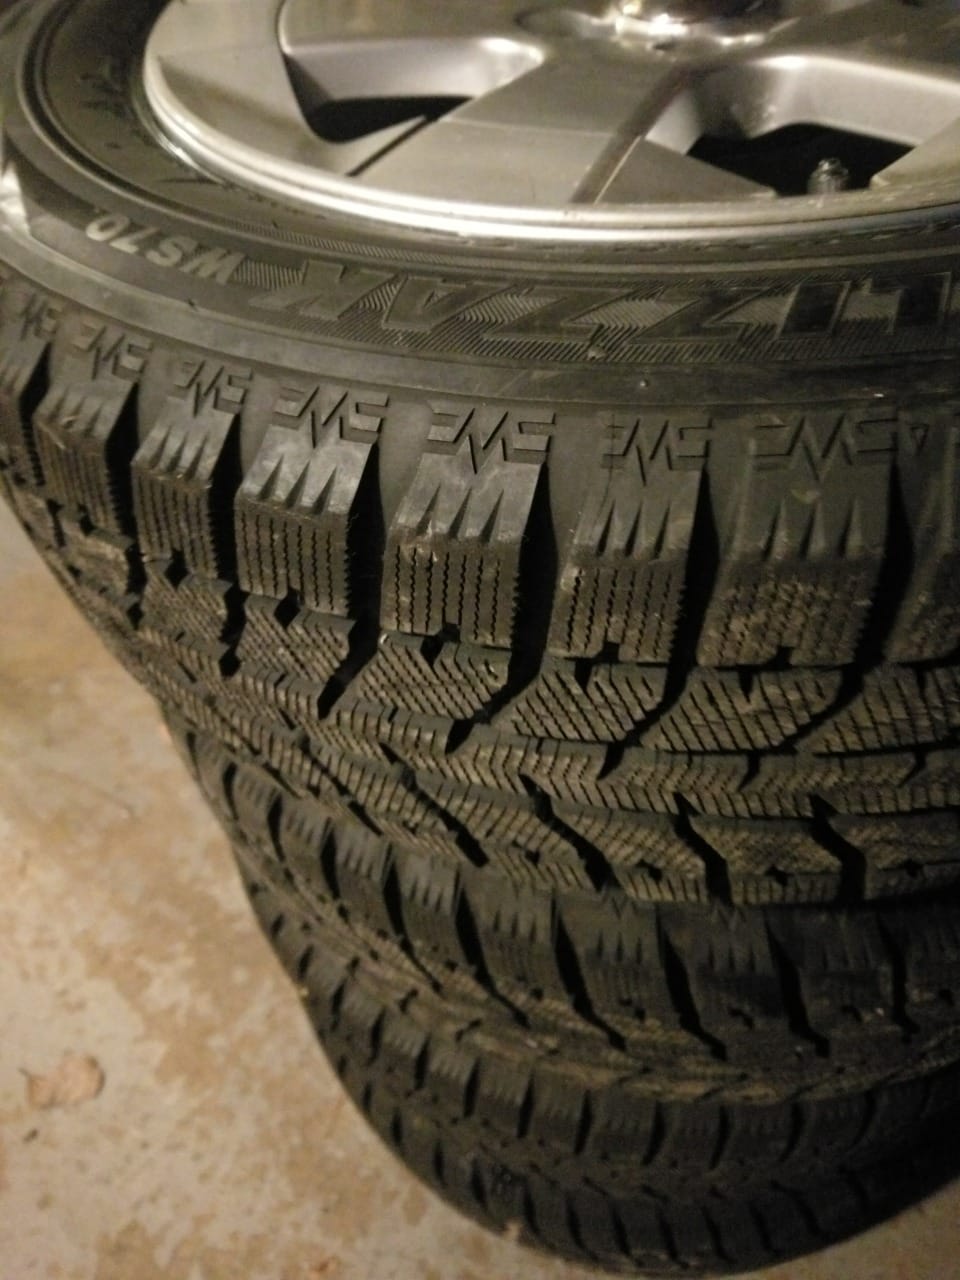
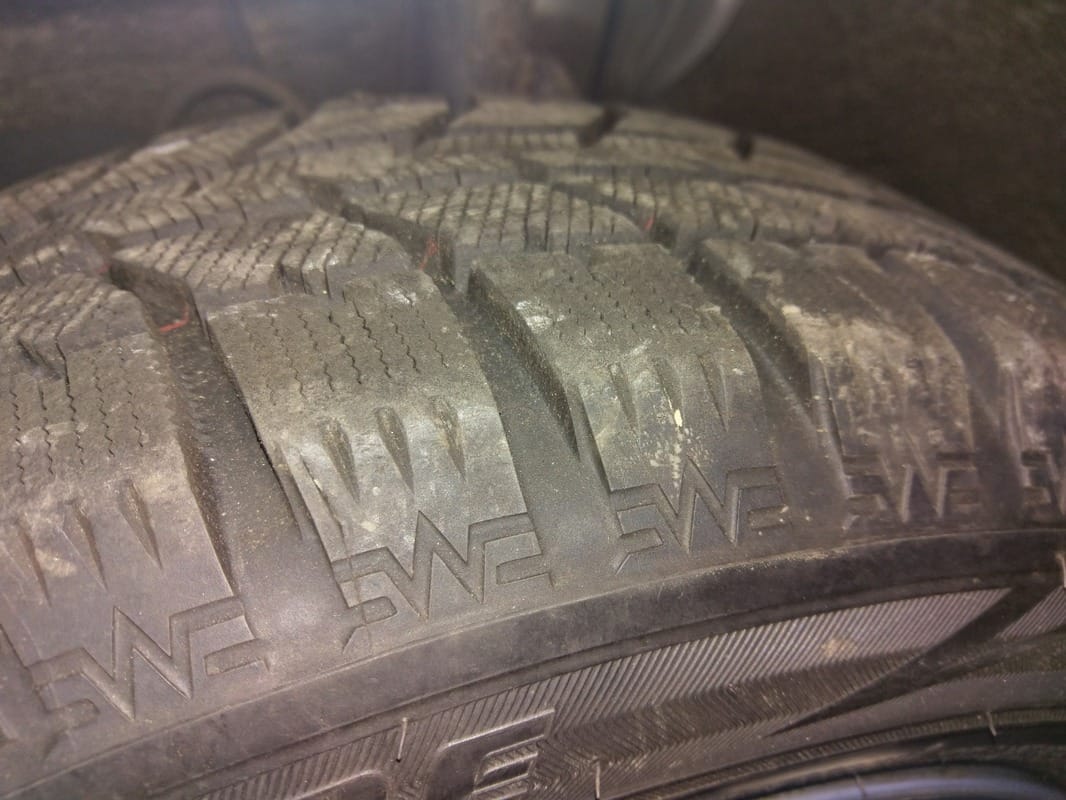
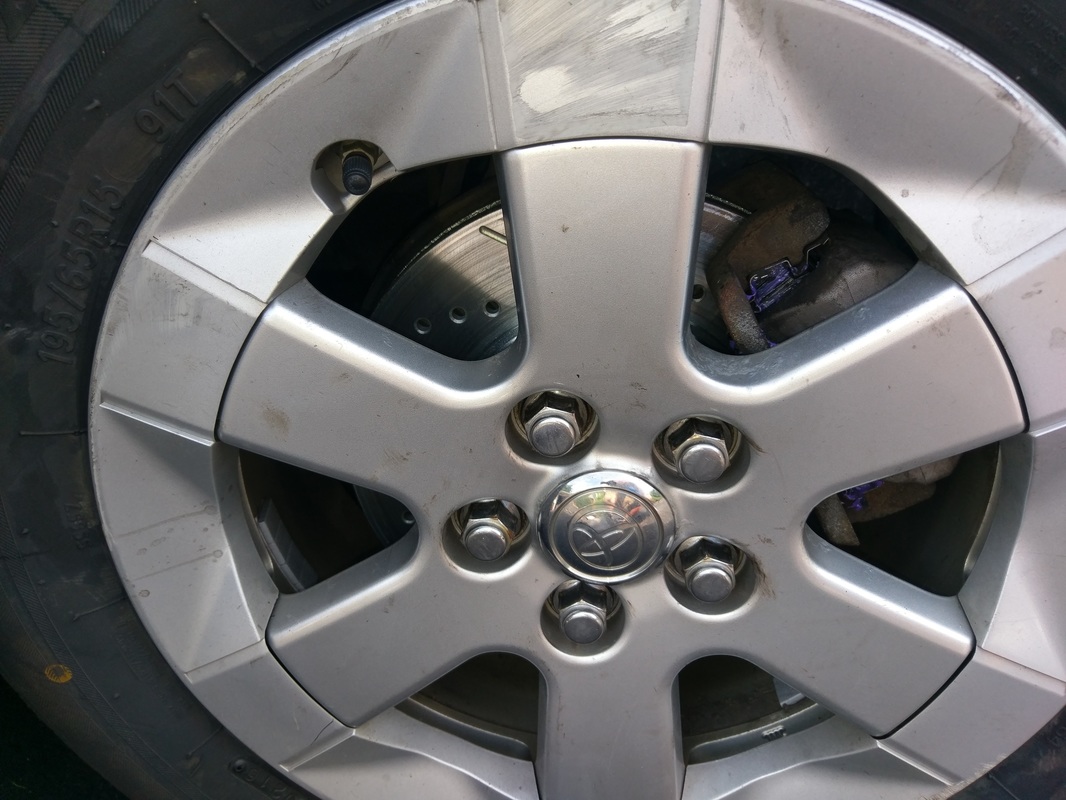
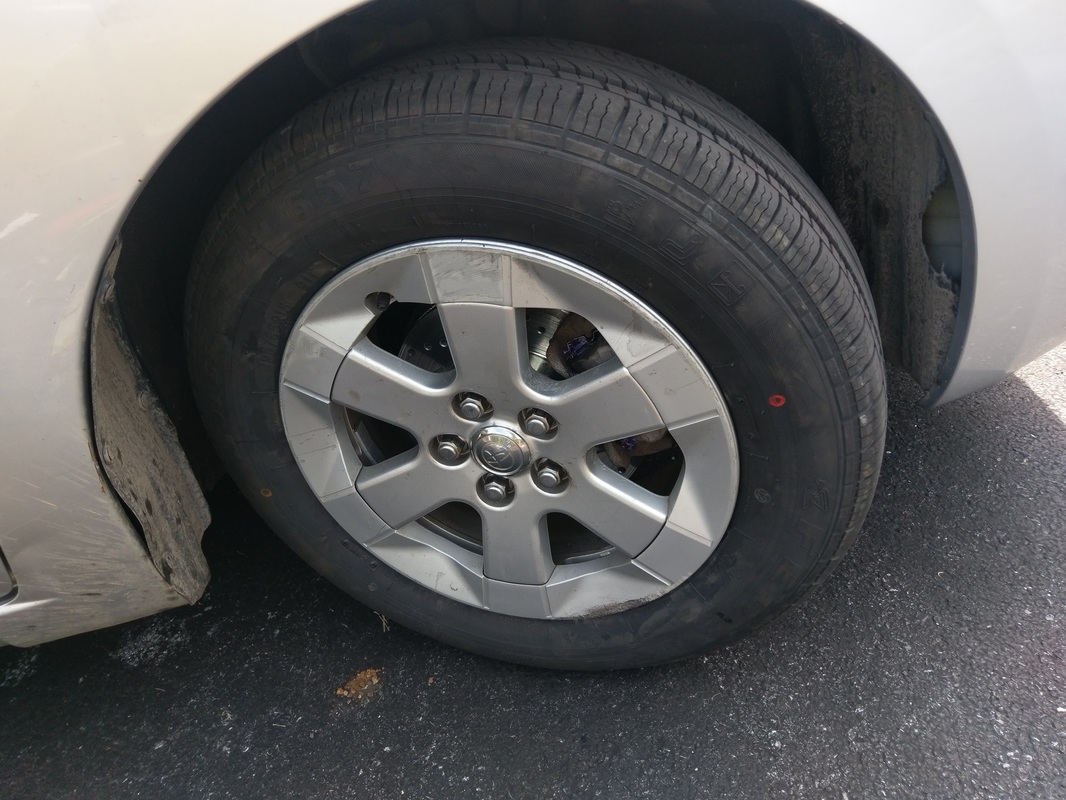
This year I decided to get a set of sno tires fot the car - over the last year I have been also acquiring (4) stock prius wheels when I could find one for a good value. Recently I ran into a deal for a set of (4) 195/60/r15 Blizzaks WS70's with minimal wear, so I snapped them up. Took the whole lot to the local tire place and they had them mounted and balanced in about 15 minutes.  If you do decide to go used on the tires look for either 185 65 r15 the stock size or you could go up one size as I did to 195 60 r15. You will lose some MPG's with the larger tires size, but your handling will increase.

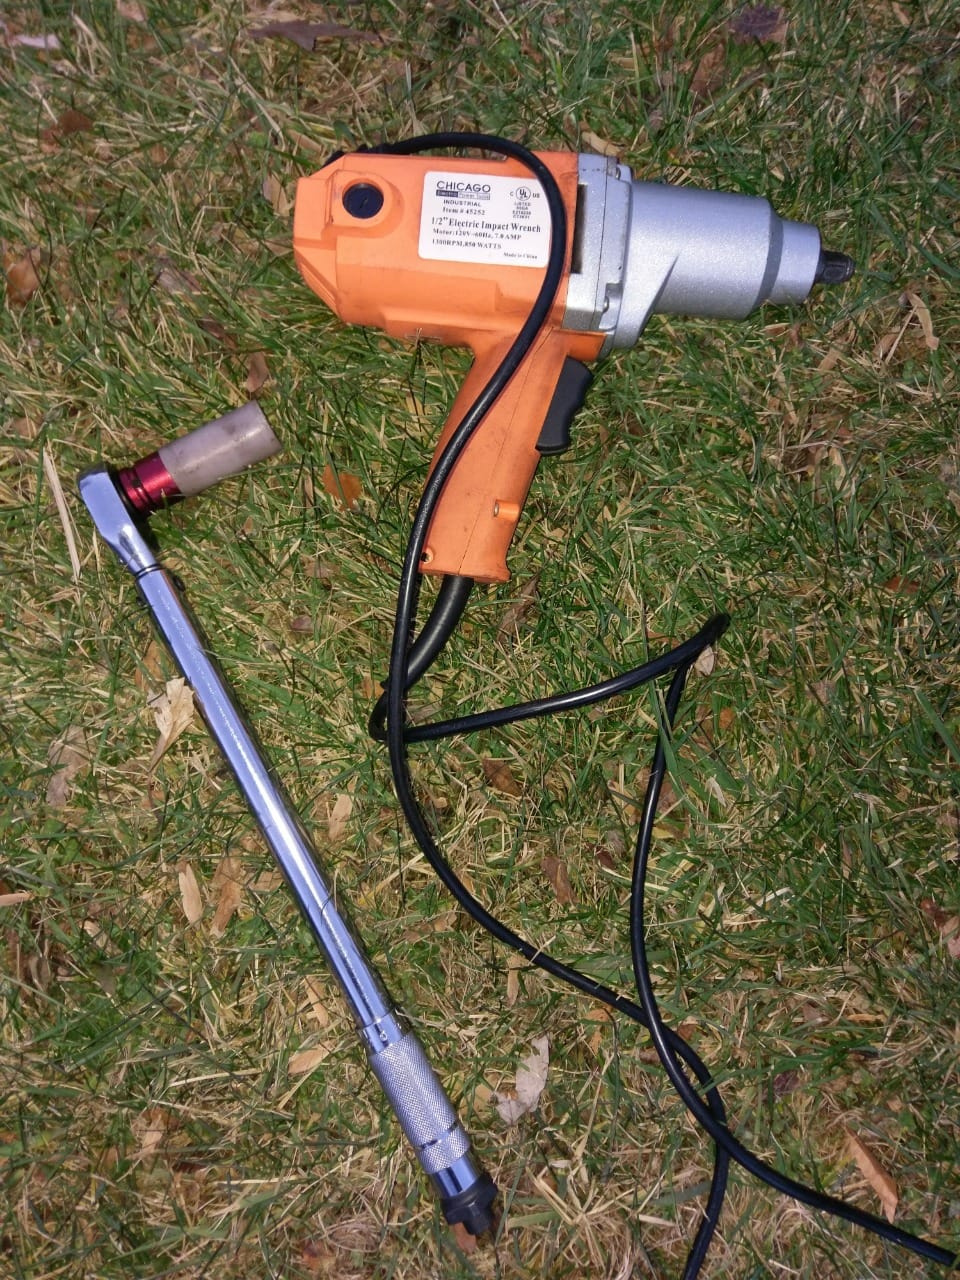
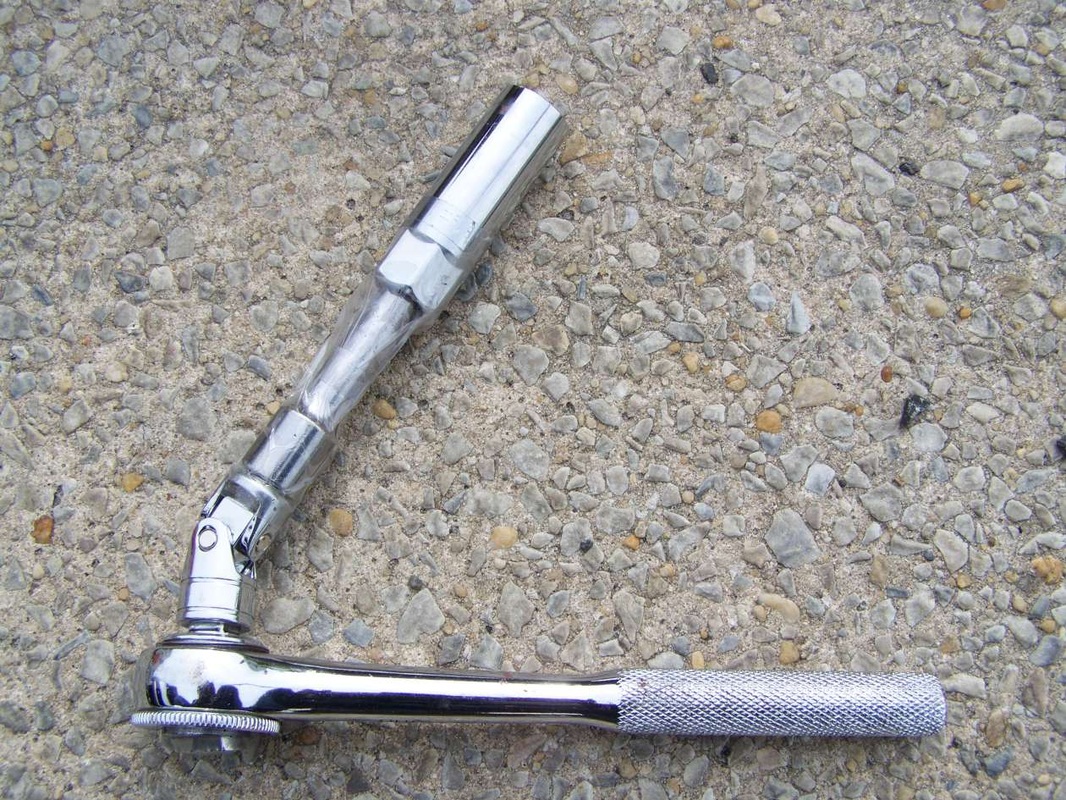
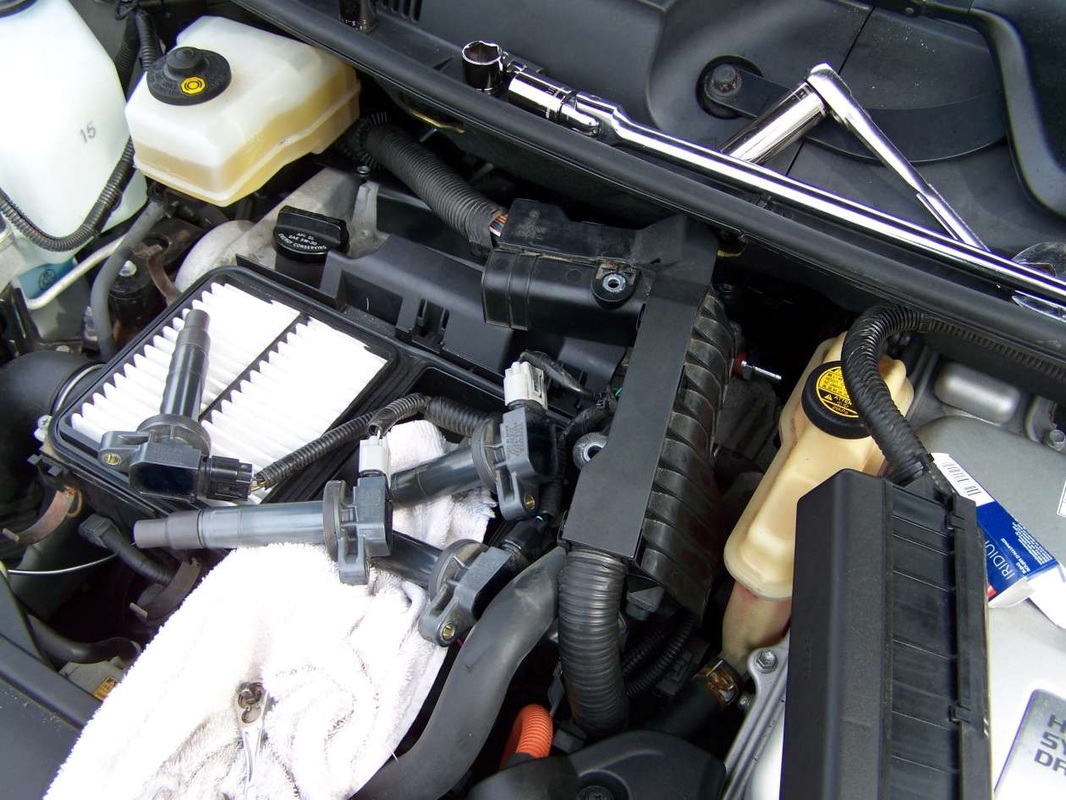
If you change your own tires, invest in a good 3ton jack. I always lift the car a bit to get the weight off but leave the tires touching the ground, that way when i loosen the lugs the wheel dont spin. Then i raise the car so the wheels don't touch the ground by an inch and remove the lugs the rest of the way. When tightening, i screw on with hand to start, impact hammer just before snug. lower car till wheel touch ground barely, then finish with torque wrench in a star pattern to 80 ft lbs. Not using a torque wrench can leave you with undesirable results. See: Wheel on side of road, or impossible to remove on side of road after you over tightened with an impact wrench.

I will update you when we can test out the grip in some bad weather, but definitley not fearing the snow anymore.
2 Comments

Rotor and Pad replacement Prius Gen 2

10/15/2016

2 Comments

 
Your 7 year old Prius just failed inspection for worn front brakes and rotors - what to do? Spend $500 at the dealer? Nope - if you are a bit handy and have some tools, just follow the steps below and save your self some loot.

Turn wheel all the way
Crack loose lugs
Elevate car
Remove lugs and wheel
Loosen the caliper and the caliper bracket bolts
You will need a ½” breaker bar or risk suffering personal and tool injury/damage.
Make sure you have a torque wrench
 
Make sure the car is off for a little bit to let the brake pump relax – leave the key fob in your house, it sometime senses when you are close and turn on the brake pump to get ready for a drive – hence making the calipers very hard to release.
Disconnect the battery negative terminal from the frame in the back – or you will be cursing.
 
Loosen the brake fluid cap.
Use a flat blade screwdriver to lever the old pads away from the old rotor (assuming you are replacing both the rotors and the pads simultaneously) – compresses the piston
You may need a clamp to compress the brake cylinder in order to have it fit over the new pads. There is a substantial difference in thickness between old and new.
Take a picture of the brake slider clips, as top and bottom are different and you will confuse them without a picture on your phone.

Hang the calipers with something rigid so you don't stress the lines. Romex wire or the hangers below work.
 
Remove the sliders
Clean them and re-lubricate
I also used a wire brush and some brillo pads to clean up the hubs and the calipers.
Lubricate your pads and the slider brackets – my old slider brackets were very tired and rusty.
Use high temp brake lube – or horrible things will happen. Don’t use copper anti-seize, except on the 17mm caliper bracket bolts, it breaks down under high heat in the caliper area. Fyi: I needed a slight ½” extension shaft on the breaker bar in order to get to the top bolt.
Re-assemble.
Use a torque wrench so you don’t get in a wreck for inadequately tightening a bolt. If you don’t have one, get one – you will use it many times over.
e.g. I use a torque wrench every time when changing tires to ensure proper lug tightness.
Here are the settings:
Front caliper bolts: 81 ft.-lb
Bolts that screw into slide pins: 25 ft.-lb

If you want to get more in depth feel free to read this Prius chat link on brakes
Also some decent Youtube videos out there, but many online are not complete, skip stuff, or do stuff wrong, or have the wrong tools.
 
Enjoy your new brakes, you just saved yourself about $300 or so… unless you had to buy all the correct tools – but then you will be able to do it next time or to another car for not too much dough
2 Comments

Prius Spark Plugs and PCV valve

4/15/2012

3 Comments

 
Picturetired old plugs & PCV valve after 113k mi
Change the spark plugs and PCV valve in your Prius every 110k miles. Denso iridium plugs are recommended.

Some tips:

Remove the 10mm bolts holding the relay box, place a towel underneath and lay the box on top of the inverter hood

Loosen all the 10mm bolts on wiring harness also need to remove the air filter top two bolts and the harness bolt that threads into the top of the engine block behind the air filter box

Tape on your spark plug socket (with rubber insert) to your extension socket - if it falls off, you will not be happy.

You can use a 5" straight extension or a 4" and a universal joint end

Make sure to use anti seize on your spark plugs to ease removal next time

You will need to lift up the wiring harness in order to get to the right most coil

Be gentle with the coil wires and don’t over tighten the spark plugs

Use tape over the coil holes to prevent debris from falling in while you are working on the PCV valve

After the new spark plugs are in, you will need to wrestle the wiring harness up and towards the front of the vehicle

You will need a six point 19mm medium length socket along with a small headed socket (I used a 1/2" breaker bar)

Note: there is alternate way to get at the pcv valve, but involves removing the entire wiper and wiper housing assembly.

Use caution when screwing / unscrewing the bolt holding the wiring harness towards the front of the engine to the block - as it is easy to drop the screw/open ended 10mm wrench. You may want to have an extension magnet handy if you do drop a tool.

Once complete, you can now put the coils back then reverse the process and put everything else back. Do not over tighten the 10mm bolts, a bit over snug is fine - use a torque wrench if you wish.

Doing this job will take you 1-2 hours max with these instructions - good luck. 
3 Comments

    Author

    Prius owner and avid DIYer

    Archives

    December 2016
    October 2016
    April 2012

    Categories

    All
    Pcv Valve
    Spark Plugs

    RSS Feed

Prius Lift Supports 2016